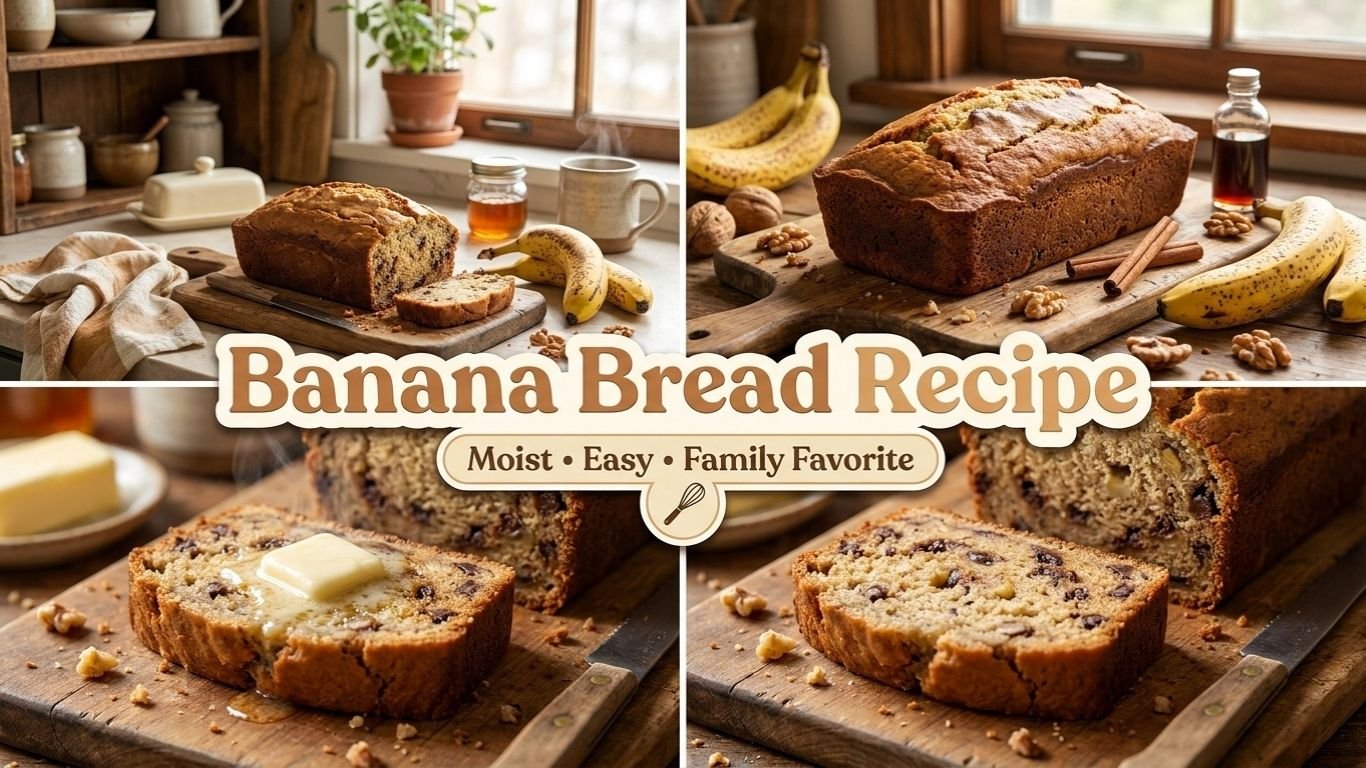
There’s something almost embarrassingly satisfying about banana bread. You’ve got three sad, black-spotted bananas sitting on your counter. Forty-five minutes later, your kitchen smells like warm caramel and vanilla, and you’ve got something people will genuinely beg you for.
I’ve made banana bread more times than I can count — including one memorable batch where I forgot the baking soda entirely. The loaf came out dense as a brick, pale, and weirdly gummy in the middle. My family ate it anyway, bless them, but that mistake taught me exactly what each ingredient is actually doing in the bowl.
This banana bread recipe is for everyone — the first-time baker who’s nervous about getting it right, the experienced home cook who wants a reliable go-to, and anyone who refuses to throw away overripe bananas. One bowl. No mixer required. Genuinely foolproof.
Why This Banana Bread Recipe Actually Works
1. Overripe Bananas Are Non-Negotiable
Not yellow bananas. Not slightly spotty bananas. We want the ones that look completely gone — brown-black all over, almost mushy. At that stage, the starches have converted almost entirely to sugar, and the banana flavor is concentrated and intense. You can actually smell the difference when you peel them.
If your bananas aren’t there yet, pop unpeeled bananas on a baking sheet in a 300°F (150°C) oven for 15-20 minutes. They’ll turn black and soften beautifully. It works every single time.
2. Melted Butter, Not Softened
A lot of banana bread recipes call for softened butter creamed with sugar. This one uses melted butter, and here’s why that matters: melted butter coats the flour proteins differently than creamed butter does, which means you get a denser, moister, more tender crumb — not a cakey, airy one. Banana bread should feel substantial. Melted butter gets you there.
3. Don’t Overmix — Seriously
Once the flour goes in, mix until you just barely can’t see any dry streaks. That’s it. Stop. Overmixing develops gluten, and gluten gives you chewy bread, not tender quick bread. A few lumps in the batter are completely fine. Expected, even. They’ll bake out.
Key Ingredients & Smart Substitutions
Overripe Bananas (3 large) — The riper, the better. Frozen-then-thawed bananas work incredibly well here and are often even sweeter.
Melted Unsalted Butter (½ cup) — Controls salt levels while adding rich flavor. Salted butter works fine — just omit the added salt. For dairy-free, melted coconut oil is a solid swap.
Granulated Sugar (¾ cup) — White sugar keeps the flavor clean. You can swap half for brown sugar if you want a slightly deeper, molasses-y flavor. I do this often.
One Large Egg — Provides structure and binds everything together. For a vegan version, one flax egg (1 tbsp ground flaxseed + 3 tbsp water, rested 5 minutes) works well.
Pure Vanilla Extract (1 tsp) — Don’t use imitation here. Real vanilla rounds out the sweetness and plays beautifully with the banana.
Baking Soda (1 tsp) — This is the leavener. Not baking powder — baking soda. It reacts with the natural acids in the banana and gives the loaf its rise. (This is exactly what I forgot in that disastrous early batch.)
Fine Salt (¼ tsp) — Sharpens every other flavor in the loaf. Never skip salt in baking.
All-Purpose Flour (1 ½ cups) — Standard AP flour gives the right structure. For gluten-free, a 1:1 gluten-free baking flour blend works — Bob’s Red Mill and King Arthur both perform well here.
Optional Add-Ins: ½ cup chopped walnuts or pecans, dark chocolate chips, a swirl of peanut butter, or a teaspoon of cinnamon and a pinch of nutmeg. All of these are excellent decisions.
Kitchen Tools Needed
- Large mixing bowl
- Fork or potato masher (for mashing bananas)
- Whisk or wooden spoon
- 9×5-inch (23×13 cm) loaf pan
- Parchment paper or nonstick cooking spray
- Measuring cups and spoons
- Toothpick or skewer (for testing doneness)
- Wire cooling rack
- Oven
No mixer, food processor, or special equipment needed.
Step-by-Step Instructions
Step 1: Preheat and prep your pan.
Preheat your oven to 350°F (175°C). Grease a standard 9×5-inch loaf pan with butter or non-stick spray, then line it with a strip of parchment paper that hangs over the long sides. That overhang becomes your handle later — makes getting the loaf out completely effortless.
Step 2: Mash the bananas.
In a large mixing bowl, peel and mash your bananas with a fork until smooth with just a few small lumps remaining. The mixture should look almost like a thick, rough puree. You want about 1 ½ cups of mashed banana total.
Chef’s Note: If your bananas are very cold from the fridge, let them come to room temperature first. Cold bananas don’t mash as smoothly and can slightly cool the melted butter when combined, which can cause it to seize.
Step 3: Mix in the wet ingredients.
Pour the melted butter into the mashed bananas and stir to combine. Add the sugar and mix well — you’ll notice the mixture loosen up and become a bit glossy. Add the egg and vanilla extract and stir until everything is uniform.
Step 4: Add the dry ingredients.
Sprinkle the baking soda and salt directly over the wet mixture and stir them in. Then add the flour all at once. Fold gently with a spatula or wooden spoon until just combined. Stop the second you don’t see any more dry flour streaks.
Chef’s Note: The batter will look thick and slightly lumpy. That’s exactly right. Don’t try to smooth it out.
Step 5: Add your mix-ins.
If you’re adding walnuts, chocolate chips, or any other stir-ins, fold them in now with just 3-4 gentle strokes.
Step 6: Pour, top, and bake.
Pour the batter into your prepared loaf pan and smooth the top lightly with your spatula. Optional but gorgeous: press a split banana half lengthwise right on top of the batter before it goes in the oven. It caramelizes as it bakes and makes the loaf look like it came from a bakery.
Bake for 55-65 minutes, until a toothpick or skewer inserted into the center comes out clean with just a few moist crumbs attached.
Chef’s Note: At the 50-minute mark, check on it. If the top is browning faster than you’d like, tent it loosely with a piece of aluminum foil and continue baking. The crust can darken quickly near the end.
Step 7: Cool before slicing.
Let the loaf cool in the pan for 10 minutes, then use those parchment paper handles to lift it out onto a wire rack. Let it cool for at least 20-30 more minutes before slicing. I know. It’s torture. But cutting into it too early means the interior is still setting — you’ll get a gummy, underbaked-looking center even if it’s fully cooked.
Expert Tips for Best Results
- Use the ripest bananas you can find. Seriously, the uglier the banana, the better the bread. Brown and black peels are your friend. If your bananas are ripe but you’re not ready to bake, freeze them with the peel on and thaw before using.
- Measure flour correctly. Spoon flour into your measuring cup and level it off with a knife. Don’t scoop the cup directly into the flour bag — that packs in too much and makes the bread dry. Even better, use a kitchen scale: 190 grams for 1½ cups.
- Don’t skip the salt. It may seem small, but salt brings out the banana flavor and balances the sweetness. Without it, the bread tastes flat.
- Use room-temperature eggs. A cold egg can cause the melted butter to seize up into little clumps. Take the egg out of the fridge about 20 minutes before you start, or place it in a bowl of warm water for 5 minutes.
- Don’t open the oven door too early. Wait until at least the 50-minute mark before checking. Opening the door too soon lets heat escape and can cause the center to sink.
- Test with a toothpick, not just your eyes. The top can look perfectly golden while the inside is still raw. Always test the center with a toothpick. It should come out clean or with a few dry crumbs.
- Let it cool. I know it’s tempting to slice right away, but giving the bread at least 15–20 minutes to cool in the pan makes for cleaner slices and better texture.
- Wrap it well for storage. Banana bread dries out quickly when left uncovered. Wrap it tightly in plastic wrap or place it in an airtight container as soon as it’s fully cooled.
Troubleshooting & FAQs
Q: My banana bread is gooey in the middle even though the top looks done. What happened?
Two likely culprits: you sliced it too soon, or your oven runs hot and the outside cooked faster than the inside. Always test with a skewer in the very center of the loaf — not near the edges. If it comes out wet, give it another 5-10 minutes covered with foil. Every oven is different, and 65 minutes is sometimes needed.
Q: Can I freeze banana bread?
Absolutely — and it freezes beautifully. Let the loaf cool completely, then wrap it tightly in plastic wrap and then a layer of aluminum foil. Freeze for up to 3 months. Thaw overnight at room temperature or wrap individual slices in damp paper towel and microwave for 20-30 seconds.
Q: Can I make this into muffins instead of a loaf?
Yes, and it’s one of my favorite shortcuts when I need breakfast for the week. Use the exact same batter, divide evenly into a greased 12-cup muffin tin, and bake at 350°F (175°C) for 20-24 minutes. Done when a toothpick comes out clean.
Storage, Make-Ahead & Reheating
At room temperature: Wrap the cooled loaf tightly in plastic wrap or store in an airtight container. It keeps beautifully at room temperature for up to 3 days — and honestly, the flavor deepens by day two.
In the refrigerator: Good for up to 1 week. The cold does dry it out slightly, so if you go this route, always warm your slice before eating.
Best way to reheat: Pop a slice in the toaster oven at 300°F for about 5 minutes, or microwave for 20 seconds with a tiny pat of butter on top. That butter melts into the warm bread and makes every slice taste freshly baked. It’s a small thing that makes a big difference.
Make-ahead tip: You can mash and measure your bananas the night before and store them covered in the fridge. The next morning, the whole recipe comes together in under 10 minutes of actual hands-on work.